First-Party Tracking with Astro
Set up a first-party proxy in your Astro project using API routes. Works with both static and SSR modes.
Difficulty: Easy - Add one API route file to your project.
Why This Works (Same-Origin)
This approach uses /api/_z/script.js which is on the same origin as your website. Firefox ETP and other tracking protections only block cross-origin requests.
- Browser sees:
yourdomain.com/api/_z/script.js, same origin, no cross-origin block - Astro's API route proxies the request to Zenovay server-side (browser never sees this)
- All tracking protection is bypassed because the request is first-party
The proxied script stops honouring Do Not Track
Every bundle served through /api/_z/script.js ships with ignoreDNT enabled, so a visitor whose browser sends the legacy Do Not Track signal is still tracked on a proxied site, whether or not you asked for that. Global Privacy Control is never overridden and is still honoured. If Do Not Track matters for your audience, serve the standard script from api.zenovay.com instead. See Privacy-first.
Before You Start
Make sure you have:
- An Astro project (v2.0+ recommended)
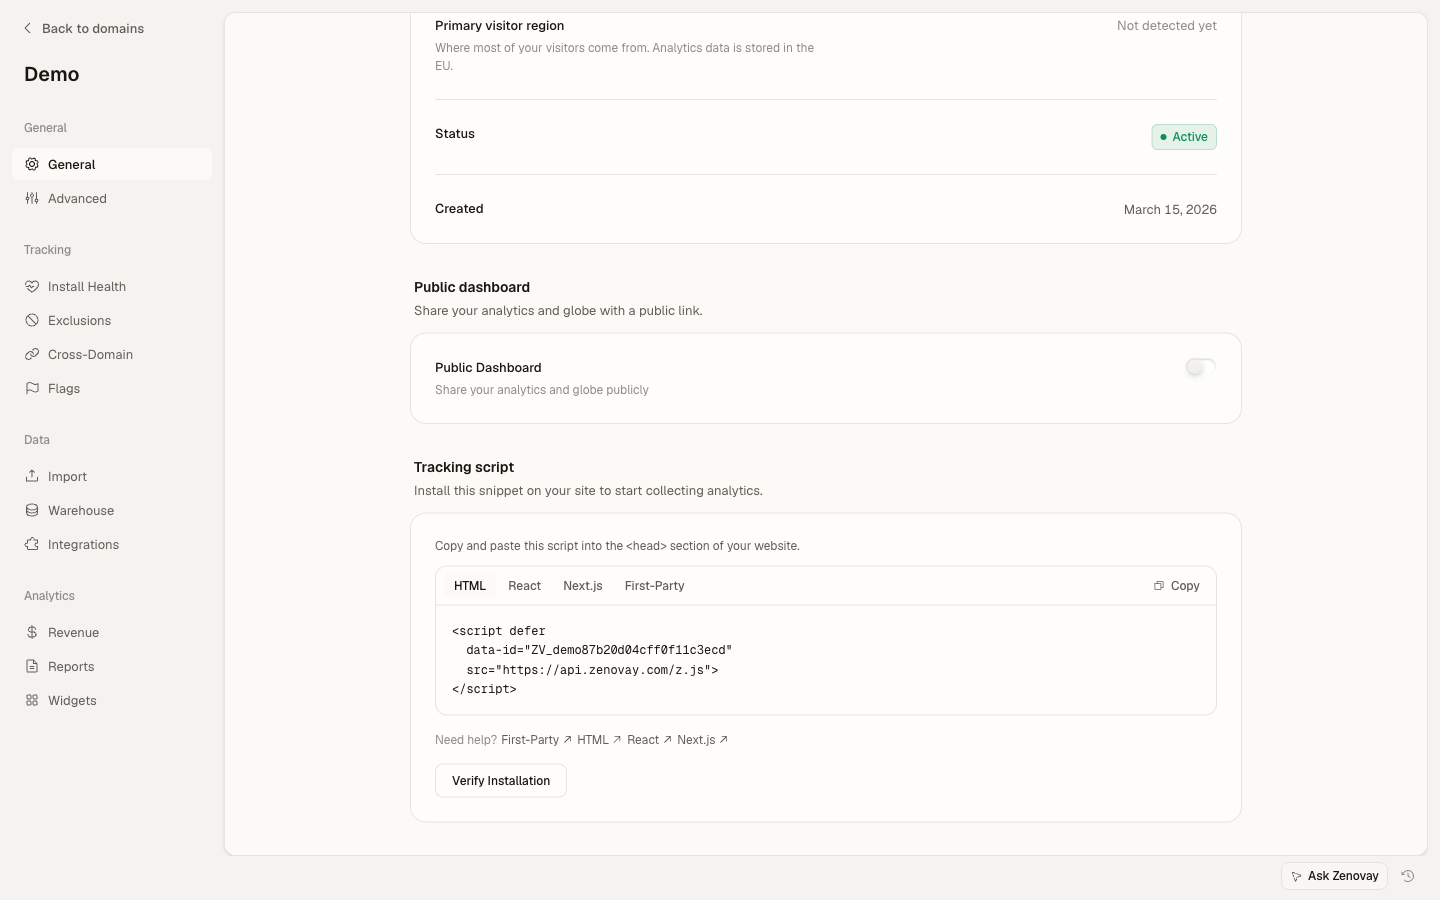
- Your Zenovay tracking code (found under Domains → your domain → General)
- SSR adapter installed (for Vercel, Netlify, Cloudflare, Node, etc.)
Your Tracking Code Format
Your tracking code looks like: ZV_XXXXXXXXXX
- Starts with
ZV_ - Followed by 10 characters (letters and numbers)
- CASE-SENSITIVE - copy it exactly
Example: ZV_Q8U0GYD70WR
Static sites: If you're using output: 'static', Astro API routes won't work. Use your hosting platform's proxy instead (Vercel rewrites, Netlify redirects, etc.).
Step 1: Enable SSR (if not already)
First, make sure your Astro project has SSR enabled with an adapter.
For Vercel
npm install @astrojs/vercelimport { defineConfig } from 'astro/config';
import vercel from '@astrojs/vercel/serverless';
export default defineConfig({
output: 'server', // or 'hybrid' for partial SSR
adapter: vercel(),
});For Netlify
npm install @astrojs/netlifyimport { defineConfig } from 'astro/config';
import netlify from '@astrojs/netlify';
export default defineConfig({
output: 'server',
adapter: netlify(),
});For Cloudflare
npm install @astrojs/cloudflareimport { defineConfig } from 'astro/config';
import cloudflare from '@astrojs/cloudflare';
export default defineConfig({
output: 'server',
adapter: cloudflare(),
});For Node.js
npm install @astrojs/nodeimport { defineConfig } from 'astro/config';
import node from '@astrojs/node';
export default defineConfig({
output: 'server',
adapter: node({
mode: 'standalone'
}),
});Step 2: Create the Proxy API Route
Create a catch-all API route that proxies requests to Zenovay:
import type { APIRoute } from 'astro'

export const ALL: APIRoute = async ({ params, request }) => {
// Build the path from the catch-all parameter
const path = params.path || ''
const url = new URL(request.url)
const targetUrl = `https://api.zenovay.com/fp/${path}${url.search}`

// Handle CORS preflight requests
if (request.method === 'OPTIONS') {
  return new Response(null, {
    status: 204,
    headers: {
      'Access-Control-Allow-Origin': '*',
      'Access-Control-Allow-Methods': 'GET, POST, OPTIONS',
      'Access-Control-Allow-Headers': 'Content-Type',
    },
  })
}

try {
  // Get the real client IP for accurate geolocation
  const clientIP = request.headers.get('x-forwarded-for')?.split(',')[0]
                || request.headers.get('cf-connecting-ip')
                || request.headers.get('x-real-ip')
                || ''

  // Build proxy headers
  const headers = new Headers()
  headers.set('Content-Type', request.headers.get('Content-Type') || 'application/json')
  headers.set('X-Zenovay-Real-IP', clientIP)

  // Forward the request
  const response = await fetch(targetUrl, {
    method: request.method,
    headers: headers,
    body: request.method !== 'GET' ? await request.text() : undefined,
  })

  // Build response with CORS headers
  const responseHeaders = new Headers(response.headers)
  responseHeaders.set('Access-Control-Allow-Origin', '*')

  return new Response(response.body, {
    status: response.status,
    headers: responseHeaders,
  })
} catch (error) {
  console.error('Proxy error:', error)
  return new Response(JSON.stringify({ error: 'Proxy error' }), {
    status: 502,
    headers: { 'Content-Type': 'application/json' },
  })
}
}
Why [...path].ts? The spread syntax creates a catch-all route that captures multiple path segments. This means /api/_z/script.js, /api/_z/e/CODE, and /api/_z/settings/CODE all route to this single file.
Step 3: Add the Tracking Script
Add the tracking script to your layout:
---
interface Props {
title: string;
}

const { title } = Astro.props;
---

<!doctype html>
<html lang="en">
<head>
  <meta charset="UTF-8" />
  <meta name="viewport" content="width=device-width, initial-scale=1.0" />
  <title>{title}</title>

  <!-- Zenovay Analytics (First-Party Proxy) -->
  <script defer data-tracking-code="YOUR_TRACKING_CODE" src="/api/_z/script.js"></script>
</head>
<body>
  <slot />
</body>
</html>
Important: Replace YOUR_TRACKING_CODE with your actual tracking code from the Zenovay dashboard.
Step 4: Deploy
Deploy your Astro project to your chosen platform:
# Build the project
npm run build

# Deploy (depends on your adapter)
# Vercel: vercel deploy
# Netlify: netlify deploy --prod
# Cloudflare: wrangler pages deploy dist
Hybrid Mode (Recommended)
If most of your site is static but you need the proxy, use hybrid mode:
import { defineConfig } from 'astro/config';
import vercel from '@astrojs/vercel/serverless';

export default defineConfig({
output: 'hybrid', // Static by default, SSR for specific routes
adapter: vercel(),
});
Then mark the API route for server rendering:
// Force server rendering for this route
export const prerender = false;

import type { APIRoute } from 'astro'

export const ALL: APIRoute = async ({ params, request }) => {
// ... rest of the proxy code
}
Verify It's Working
Check the Network Tab
- Visit your deployed site
- Open DevTools (F12)
- Go to the Network tab
- Reload the page
- Look for
/api/_z/script.js
You should see:
- Status: 200
- Domain: Your domain
- Response: JavaScript code
Test in Firefox
- Open Firefox
- Settings → Privacy & Security → Enhanced Tracking Protection: Strict
- Visit your site
- Verify the script loads successfully
Troubleshooting
404 Error on API Route
Cause: SSR not enabled or adapter not configured.
Solution:
- Make sure you have
output: 'server'oroutput: 'hybrid'inastro.config.mjs - Verify you have an adapter installed and configured
- For hybrid mode, add
export const prerender = false;to the API route
500 Error
Cause: Syntax error or runtime issue in the API route.
Solution:
- Check the server logs for detailed error messages
- Make sure TypeScript types are correct
- Verify all imports are available
Script Loads But No Data
Cause: Tracking code mismatch.
Solution:
- Verify
data-tracking-codematches your code in the Zenovay dashboard - Check browser console for JavaScript errors
- Ensure the domain is registered in Zenovay
Geolocation Wrong
Cause: Client IP not being forwarded correctly.
Solution: The API route tries multiple headers. Make sure your platform forwards one of:
x-forwarded-for(most common)cf-connecting-ip(Cloudflare)x-real-ip(nginx)
Static Site Alternative
If you're using output: 'static', you can't use API routes. Instead, use your hosting platform's proxy:
Vercel
{
"rewrites": [
  { "source": "/api/_z/:path*", "destination": "https://api.zenovay.com/fp/:path*" }
]
}
Netlify
/api/_z/* https://api.zenovay.com/fp/:splat 200Cloudflare Pages
Use Cloudflare Pages Functions instead - see the Cloudflare Pages guide.
Complete Example
my-astro-site/
├── astro.config.mjs
├── src/
│   ├── layouts/
│   │   └── Layout.astro
│   └── pages/
│       ├── index.astro
│       └── api/
│           └── _z/
│               └── [...path].ts
└── package.jsonimport { defineConfig } from 'astro/config';
import vercel from '@astrojs/vercel/serverless';
export default defineConfig({
output: 'hybrid',
adapter: vercel(),
});---
const { title } = Astro.props;
---
<!doctype html>
<html lang="en">
<head>
<meta charset="UTF-8" />
<title>{title}</title>
<script defer data-tracking-code="YOUR_TRACKING_CODE" src="/api/_z/script.js"></script>
</head>
<body>
<slot />
</body>
</html>Final Checklist
Before you're done, verify all of these:
- Astro SSR is enabled (or using static site platform rewrites)
- API route file exists at
src/pages/api/_z/[...path].ts -
export const prerender = falseis set (for hybrid mode) - Script tag uses
/api/_z/script.js(not the direct Zenovay URL) -
data-tracking-codeattribute contains your correct tracking code - Project is deployed (not just running locally)
- Tested in Firefox with Enhanced Tracking Protection set to Strict
- Visits appearing in Zenovay dashboard
Next Steps
- Custom Events - Track user interactions
- Visitor Identification - Link analytics to users
- Troubleshooting - More help with issues
On this page